Documentation Manual
< All Topics<
Print

Reports

.

.

Reports:

.

Reports provide overall activity details of the Employee. This User manual will help you to access details and reports.

.

How to Access Reports:

.

Firstly Go to Dashboard>Reports.
You land on the Custom Report overview page.

It has the following option:

.

Monthly Attendance Report:
Monthly leaves Report:
Time Sheets:
Login Activity:
Medical Report:
Storage Report:

.

Monthly Attendance Report:

.

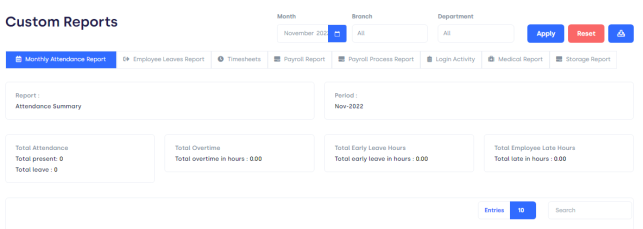
Click on the monthly attendance report.
You will land on the following page.

Screenshot (85)

                                              Figure 01.

It has various options:

.

Month: Enter your concerned month.
Branch: Enter the Branch name.
Department: Add department.
Apply: Click on apply and the report will display.
Reset: If you want to reset information, click on reset.

.

Show entries:It helps you to see the total number of attendance reports you want to have on your overview page such as 10, 20, etc.

.

Page Carousel: Helps to display the number of attendance for the total number of attendance reports it holds.

Search Console: To look for the attendance report using the name of the employee or department.

.

Employee Leaves Report:

.

Clicking on this bar will provide you with a monthly leave summary of employees.
You have several options on the page.:

.

Month: enter a month.

Branch: Add branch name.

Department: Then add department.

Apply: click on apply, and details will show on the page.

Reset: if you want to reset, click on the reset button.

.

The monthly leaves summary will display with the following details.
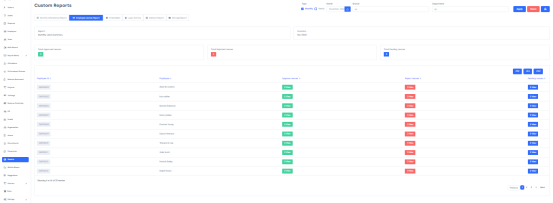
Screenshot (86)

.

                                                Figure 02.

.

Employee ID: Unique identification of an employee.
Employee: The User name of an employee.
Approved leaves: How many leaves have been approved?
Reject leaves: How many leaves have been rejected?
Pending leaves: How many leaves are pending?

.

Timesheets:

.

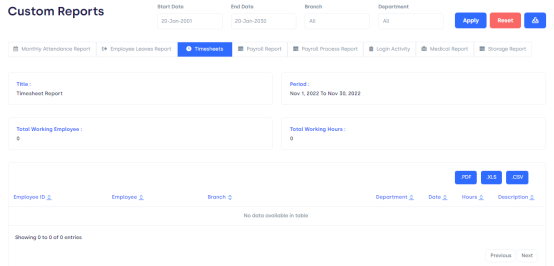
Timesheet provides you with details regarding the total working hours of employees.

Enter some required data and you will get a detailed timesheet of employees.

.

Start date:
End date:
Branch:
Department:
Apply:
Reset:

Have a look at the page.

Screenshot (87)

                                              Figure 03.

.

It will provide you with the following information.

.

Employee ID: Identification number of Employee.
Employee: Employee’s Name
Date: Concerned date.
Hours: Working hours of Employees.
Descriptions: Details regarding works.

.

Login Activity:

.

You can access the login activity of employees with other details.

Click on login activity.
The following page will display.

Screenshot (88)

                                                      Figure 04.

.

It has the following details:

.

Employee ID: Identification number of Employees.
Name: Name of Employees.
Last login: When did they last log in?
Role: What role they perform in a company such as an Employee.

.

View details:

Click on view details and you will get minute details of that particular Employee’s login such as area, IP Address, etc.

.

Screenshot (89)

                                                   Figure 05,

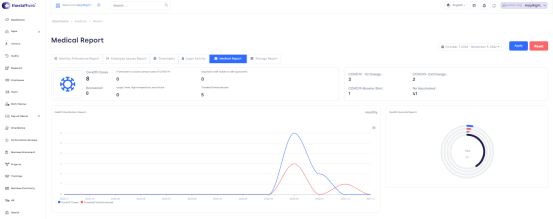
Medical report:

.

If you want to access an employee’s medical report for a specific time, just put down some details.
Select the date on the Calendar.
Click on apply.
If you want to reset, click on the reset button.

Screenshot (90)

                                                    Figure 06.

Storage Report:

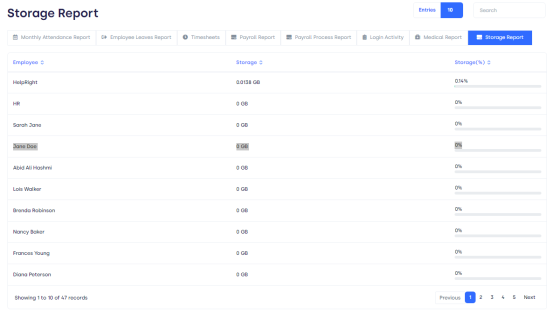
You can also access storage details regarding Employees.
You will get the following options .

Screenshot (90)

                                                     Figure 07.

Employee: Name of employee.

Storage: How much storage has been occupied by the person.

Storage percent: How many percent storage has been occupied.

Content